pod 다루기
Intro
- ’kubectl’ 명령어를 이용하여 nginx pod를 생성 (pod name : nginx-pod, imgae : nginx)
- 해당 pod 컨테이너에 접근해 /usr/share/html/index.html 파일 수정
- 해당 pod를 서비스 노출시켜 서버에서 curl http://[서비스IP]:[Port]로 결과 확인
- 결과 확인 후 해당 서비스 IP를 “bgunni.com” 이라는 도메인으로 등록 후 curl로 결과 한번 더 확인
Process
-
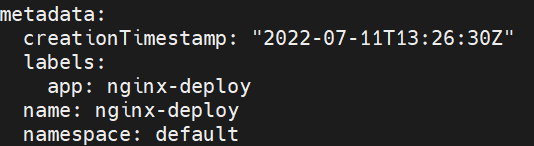
pod 생성 과정 (pod name : nginx-pod, image : nginx)
 # pod 생성
 kubectl run nginx-pod --image=nginx

 # pod 생성 확인
 kubectl get pod -A
-
pod 컨테이너 접근해 파일 수정 (수정할 파일 : /usr/share/nginx/html/index.html)
 # nginx-pod로 띄워져있는 컨테이너 확인
 docker ps | grep nginx-pod

 # 해당 container id로 접속
 docker exec -it {container_id} /bin/bash

 # 정해진 파일 위치 이동 후 내용 수정
 vi /usr/share/nginx/html/index.html

 # vi 편집기에서 전체 선택 단축키 (shift + v + g)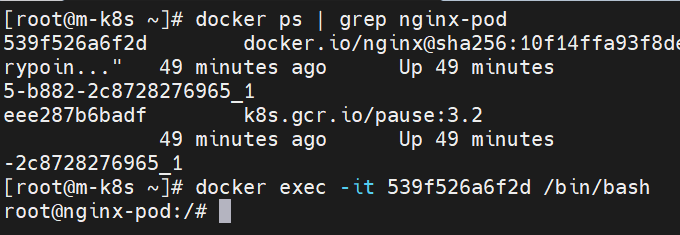
-
pod를 서비스로 노출시켜 curl명령어로 결과 확인
# pod로 Service 실행 kubectl expose pod nginx-pod --port-80 # 외부 트래픽 혀용(NodePort 설정) kubectl edit service nginx-pod-
type 편집
  apiVersion: v1
  kind: Service
  metadata:
    creationTimestamp: "2022-07-04T14:04:00Z"
    labels:
      run: nginx-pod
    name: nginx-pod
    namespace: default
    resourceVersion: "22028"
    uid: a283118a-7424-4b21-b533-ac2292dc42ad
  spec:
    clusterIP: 10.104.96.84
    clusterIPs:
    - 10.104.96.84
    externalTrafficPolicy: Cluster
    ports:
    - nodePort: 32241
      port: 80
      protocol: TCP
      targetPort: 80
    selector:
      run: nginx-pod
    sessionAffinity: None
    # type: clusterIP
    type: NodePort
  status:
    loadBalancer: {}

-
-
해당 서비스 IP를 ”bgunni.com” 이라는 도메인으로 등록 후 curl 결과 재확인
 # /etc/hosts 파일 수정
 # svc ip를 도메인으로 등록
 10.106.194.49 bgunni.com
-
이러한 과정을 통해 어떤 이유로 pod로 안보내고 service를 통해 요청을 하는지 서술하시오.
- pod는 재기동 시 ip가 고정되어 있지 않고 유동적으로 변경된다. 하지만 service는 고정된 ip를 사용함으로써 사용자가 더욱 편리하게 접근할 수 있다.
- 서비스로 묶여진 pod 들의 집합을 endpoint라고 하며 label을 통해 어떤 pod에 연결되었는지 확인 가능하다.
kubectl get endpoints명령어로 확인 가능
label 확인
kubectl edict svc {svc_id}