Jekyll 로컬에 띄우기
Jekyll vscode로 로컬에 띄우기
STEP1. Ruby 설치
- Ruby for windows
-
설치 이유
Jekyll이 Ruby 언어로 되어있기 때문에 Jekyll을 로컬에 띄우려면 Ruby 설치를 우선적으로 진행해줘야함
여기서 Ruby란, 프로그래밍 언어로 python과 유사한 언어이며 일본인이 만든 언어이다. 일반적인 애플리케이션은 컴파일러를 사용하는 언어에 의해 기계어로 번역된 채로 실행되므로, 큰 프로그램을 자주 수정해야 한다면 매우 비효율적이다. 그렇기 때문에 나온 언어이다.
[특징]
- 원시 자료형이 존재하지 않고 모든 것이 객체인 순수 객체지향 언어이다.
- 언어를 쉽게 확장시킬 수 있는 ‘메타 프로그래밍’을 지원한다.
- 함수형 언어
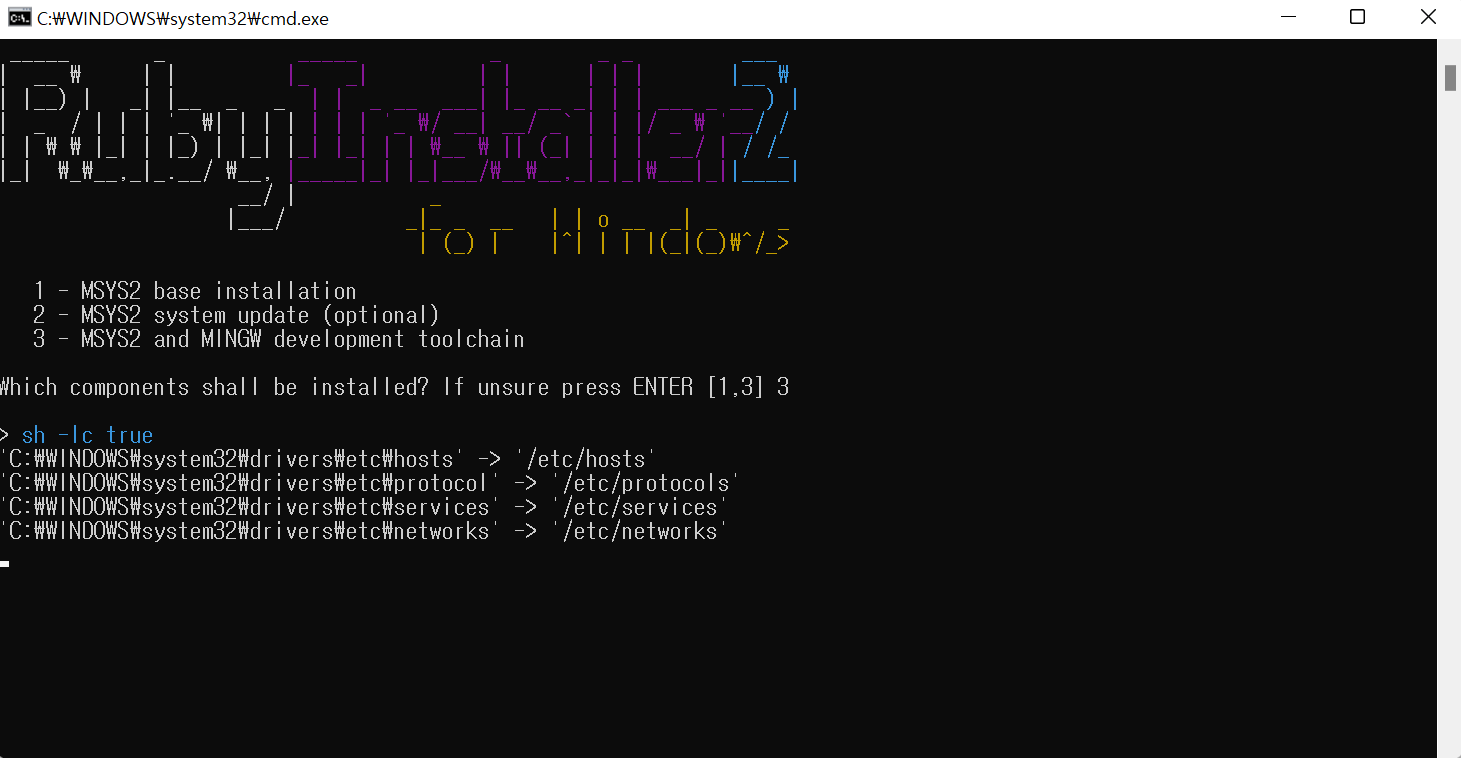
Ruby 설치 후 나오는 화면(3 클릭 후 enter)
설치 중 아래와 같은 문구 나오면 enter 클릭하면 cmd창이 사라진다.
- Which components shall be installed? If unsure press ENTER []
STEEP2. Ruby 설치 확인
$ ruby -v //ruby version 확인으로 설치 확인

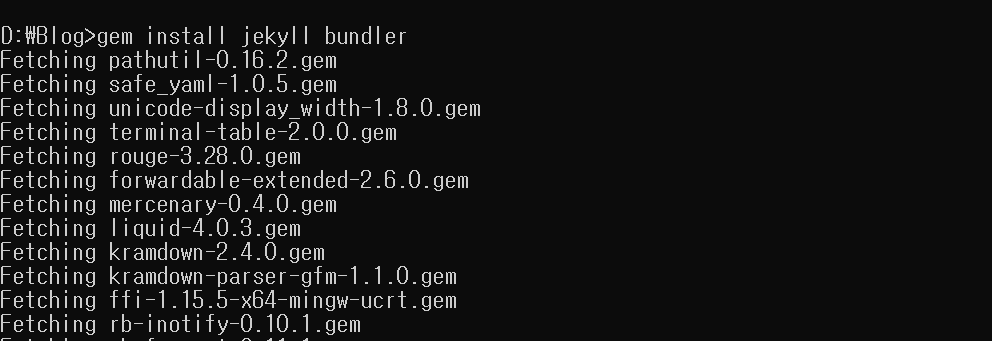
STEP3. 원하는 경로에 폴더 생성 후 Ruby에 Jekyll 설치
$ gem install jekyll bundler
STEP4. Jekyll 설치 확인
$ jekyll -v
jekyll 4.2.2
STEP5. 블로그 가져오기
$ git clone [URL]
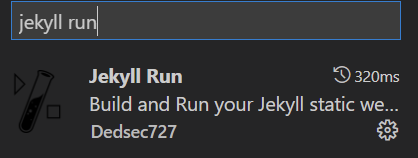
Jekyll Run - Visual Studio Marketplace
STEP6. vsCode ‘Jekyll Run’ Plugin 설치
Either the workspace/folder: Blog is not Jekyll compatible or the opened file is not part of the Jekyll folder
-
bundle install도 설치함
-
참고사이트
https://17billion.github.io/jekyll/install/2017/05/27/install-a-jekyll.html
## VSCODE TERMINAL에서 진행한 명령어 정리

1. ruby version 확인 (vscode terminal)
$ ruby -v

2. jekyll 설치
$ gem install jekyll bundler

3. jekyll version 확인
$ jekyll -v

4. bundle 설치
$ bundle install

4.1 이슈 발생 bundle update
$ bundle update

5. webrick추가
$ bundle add webrick

5. 서버 띄우기
$ bundle exec jekyll serve --trace

4번 진행 시 이슈
-
requires ruby version >= 2.2.7, ~> 2.2, which is incompatible with the current version, ruby 3.1.2p20
  # bundle update
  $ bundle update
